Showing posts with label handmade. Show all posts

Jun 5, 2013

SO Cool!

Etsy.com handmade and vintage goods

I just found this on Etsy. DIY marbled scarves: HOW CUTE!!! I will have to try this when I can get my hands on the supplies. Go check it out here.

Talk about a great start to summer! : )

Fly with Christ!
Rachel : )

Feb 16, 2013

Knitted Dishcloth

http://www.agoodyarn.net/Images/TShirts/T_MaryFrancesCover.jpg

Hello everyone! I hope that y'all are having a good Saturday!

When I started to type this post, the weather here just looked gloomy and gray. But within 10 minutes, it started snowing! It's very light and it might not amount to anything, but snow is snow! God know just how to perk up a gloomy day.  : )

Whether you are begging for snow (like we are) or sick of it, I have a dishcloth pattern to brighten the day. To all my knitters or even those who aspire to be one, I bring you an easy pattern that can be made for yourself or a friend. I have included the instructions plus pictures for this pattern.

Materials:
Sugar and Cream or Peaches and Cream yarn
Knitting needles (anywhere form size 3 to size 8)

Abbreviated instructions:
Cast on 4 St. Knit all St.
Increasing: Knit 2, YO, knit to the end. Repeat until you have 40 St.
Decreasing: Knit 1, knit 2 tog, YO, knit 2 tog, knit to the end. Repeat until you have 4 St.
Cast off and weave in loose ends.

 Cast on 4 stitches.

 Knit one row.

 Increasing: Knit 2 stitches, yarn over, knit to the end of the row.

 You will now have 5 stitches.

Continue increasing until you have 40 stitches.

Decreasing: Knit 1, knit 2 together, yarn over, knit 2 together, knit to the end of the row.

You will now have 39 stitches.

Continue decreasing until you have 4 stitches.

Cast off. Weave the ends through the dishcloth and then trim.


Fly with Christ!
Rachel : )

Jan 15, 2013

More Patches

Here are some of the newest patches that I have finished for my quilt!


Fly with Christ!
Rachel : )

Jan 8, 2013

New Project

This is my newest project! I am going to make a quilt!!!

I got the material from my granny back in October. Some of the pieces are from my mom and aunt's old dresses! The hardest part was matching all the material together. I will post pictures as I finish the patches.


This is the first patch that I made.


Fly with Christ!
Rachel : )

Jan 1, 2013

Happy New Year!

I hope that everyone stayed safe and had a grand time last night. We didn't go anywhere due to sickness, but we tried to make the most of it by watching movies and eating chips and salsa all night.

Anyway...This past weekend I went to Hancock Fabrics to purchase some new material and notions. They have some great sales going on right now ($2 per yard for solid cotton!). So I decided to make a vintage dress! I didn't take any pictures during the process with this project unlike my other tutorials.

This was the first time I have ever made a dress for myself. It was also the first time I had ever made sleeves for a real sized project. Tell me what y'all think!

 This is the material and notions that I got on sale. I got this vintage pattern from my grandmother. : )  I don't know what I am going to do with the green material yet. I might just make another dress!

And here it is...

Eleanor had to try the dress on herself.
May God bless each and every one of you in this new year!


Fly with Christ!
Rachel : )

Dec 21, 2012

More Sashay...

Christmas is only 4 days away!!!

Did I mention how easy these scarves were to make? They knit up in an afternoon!!! I am using them for Christmas presents this year. So here is a semi-tutorial for making these scarves:

You will need 1 ball of Sashay yarn and a pair of knitting needles. Use a size knitting needle that you feel comfortable using. I will be using size 13 needles but I have also used size 11 and 9. Because the "stitches" come from the top row of loops, the gauge is not important. If my directions are a little confusing, a video can be found on the other Sashay scarf post.

This is what the yarn looks like when open. You will have to continue opening up the yarn as you go.

 Weave the needle through every other loop on the top loops. This will "cast-on" 6 times. 

 Turn the needle and knit the first row. To knit, insert the other needle into the first stitch, stick the right needle into the second loop on top of the yarn, pull through the first stitch on the left needle as in regular knitting, and then push the stitch off of the left needle. Continue with the other 5 stitches.


Continue knitting until there is about 6 to 10 inches of yarn left.

Cast-off like with regular knitting until the last stitch.

 Pull the last of the yarn through the last stitch.

 Tie a knot around the last stitch and then trim.


Two new Christmas scarves!

And this one is called "Hip Hop"

This one is called "Tango"


Merry Christmas!
Rachel : )

Dec 19, 2012

Sashay Scarf

Merry Christmas Y'all! I can't believe that Christmas is only 6 days away. Don't panic if your shopping list is not finished yet. Mine isn't either. Anyway... onto the project!

This scarf turned out sooooooooooo CUTE! The yarn is like netting that you stretch out and then knit the top of the netting. It was so easy and fun to make! The instructions on the label were a little confusing to me so I attached a video that I found helpful. I hope you enjoy the pattern.


Merry Christmas!
Rachel : )

Aug 16, 2012

Vacation Pics!...The Trip Down

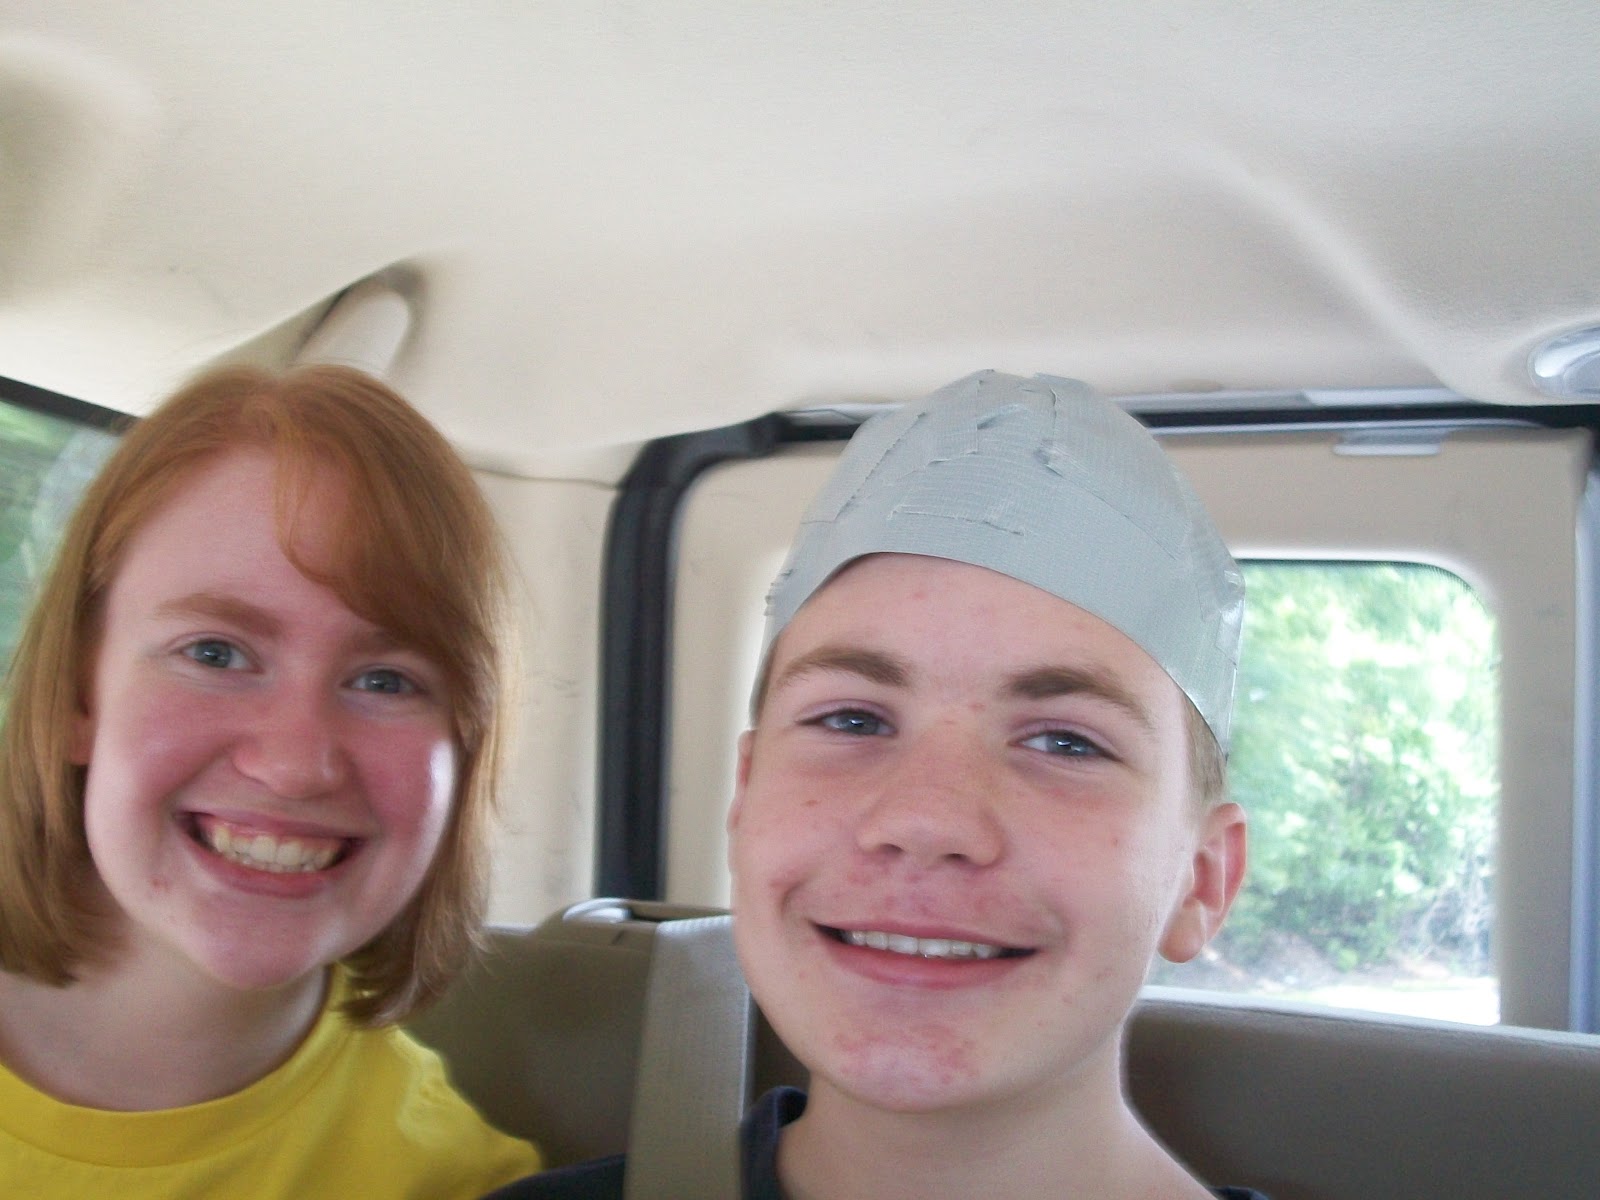
It was a long ride down to Florida but we finally made it. (After 13 hours and some duck tape)

 Happy campers still hours away from the beach.

 "I've got an idea," says the girl to the boy, "let's use our duck tape to create something and pass the time!"

 "Great idea, we'll make a hat!" says the boy.

 Though very difficult to do in a moving vehicle, they completed their hat after 100 miles in southern Georgia.

 Doesn't he look dashing!

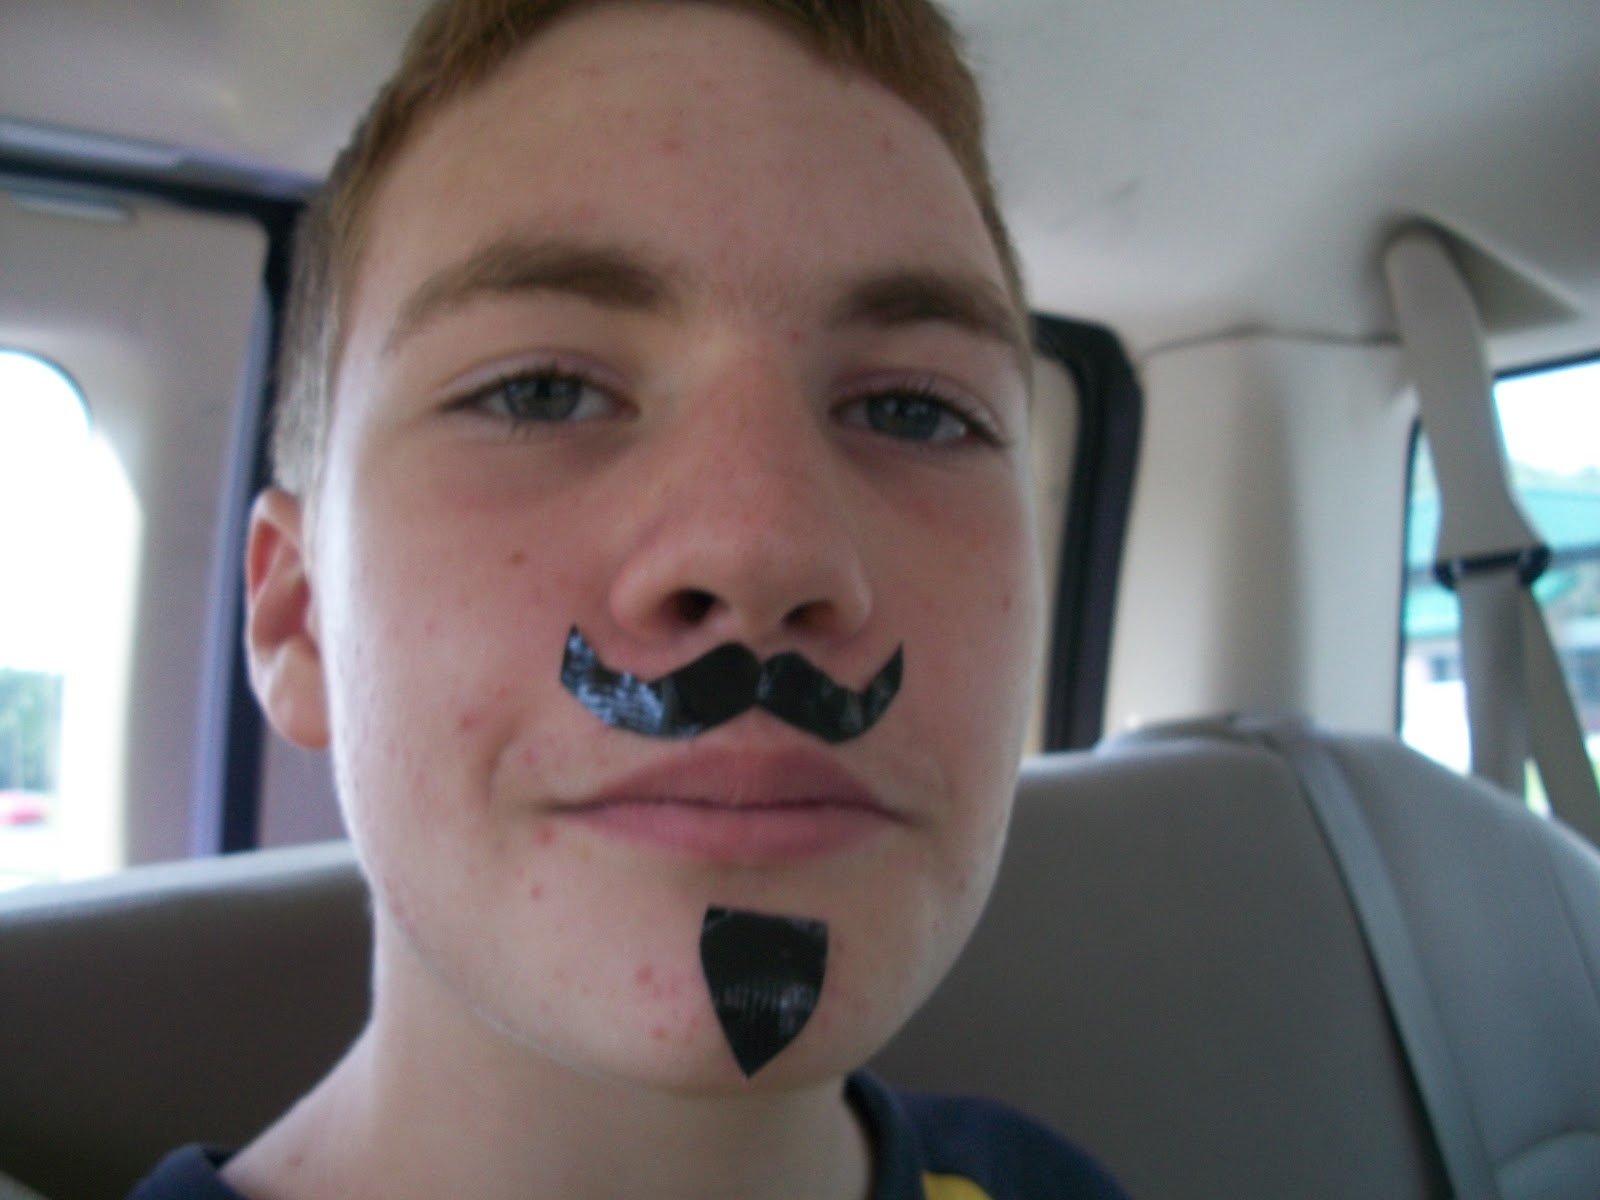
He also needed a mustache with matching goatee.

A duck tape bracelet and facial hair for the lady.

Or maybe not...


God bless!
Rachel : )
P.S. More to follow...

Jul 13, 2012

Simplicity 4236

Let me start out by saying this is one of my favorite sewing patterns, ever. I have made this skirt many, many times. I use view B. By the way, I don't follow the instructions exactly, which is really no surprise for those who know me.

Supplies:
Simplicity pattern 4236
Material
A Hook and Eye closure
Matching thread, zipper, and bias tape.
Sewing machine(This is probably one of those "duh" things unless you plan on conquering this project by hand.)


Start out by purchasing, washing, drying, and ironing your material. Fold your material with the right sides facing each other.


Position and pin your pattern like I did. The fold of my material is on the right side.

I like to add about 4 inches to this skirt. You can do this by lining up your ruler/tape measure and pinning the length all the way around the skirt bottom.

Cut out the skirt. Don't forget your darts! : )

This is what my skirt looked like after cutting.

Remove the pattern, and pin the sides together. (The material is already right sides together so you don't have to move it around. All you have to do is pin it!) Starting at the top of one side, stitch about 1/2 in., backstitch, and continue stitching down the length of the skirt, removing pins as you go. Backstitching will keep you from having to tie your threads. Backstitch at the other end.

Iron the seam flat.

Repeat with the other side, except start at the bottom of the skirt and make your way to the dart. Backstitch at the dart and iron seams flat.

Baste your zipper into place and then machine stitch it. Remove your basting thread.

Take your extra wide double fold bias tape(1/2 in.)...
Unfold it once ...
Flip out one side...
And gently press.

Take the open side and pin the edge to the waist edge all the way around the skirt.

Position your needle so that your stitches are in the crease. Backstitch and then stitch along the waistline, ending with backstitching.

Take your bias tape and...

Fold over the top edge of the skirt and pin. You want your pins to be right under the bias tape in the front.

But catch the bias tape in the back, which is where you want your stitches to be.


Backstitch at both ends and keep your stitches under the bias tape, creating a finished look.

Attach a hook and eye closure.

Allow to hang overnight. After that, all you have to do is put in a hem and your skirt is done!

For the hem, fold the bottom edge up about a half inch and press.


Fold it up one more time, press and pin it to create a finished hem.

Stitch along the hem removing pins as you go. I like to line my hem up with my presser foot to get a straight line.

Backstitch and trim your threads after you go all the way around.

And you're done! Now you are ready to show the world your awesome sewing skills. (Don't forget to remember me when you become a rich and famous seamstress/fashion designer up in New York!)


God bless!
Rachel : )