Jan 29, 2013

How to Attach a Zipper

O.K. y'all! I didn't explain how I attach a zipper in my skirt tutorial, hence the reason for this post. So here goes!
WARNING: These instructions were created by a self taught seamstress. They are not perfect by any means.
Supplies: Zipper (in correct size), pins, contrasting thread, and an item longing to have a zipper. : )
Pin your zipper into place. This may take a few tries, but an even zipper is worth it. I like to line up my material to the edge of the zipper.
Baste the zipper into place by stitching where the pins were with a straight seem. THIS DOES NOT NEED TO BE PERFECT! The stitches don't need to be too small or they will be hard to pull out later. They also don't need to be too big or your zipper will slide around.
If you have a zipper presser foot, attach it to your machine now.
Start at the top of the zipper, it is best to have it unzipped, backstitch, and continue on down the edge.
When you get to the bottom, lower the needle into the material, lift up the presser foot, and make a 90 degree turn, keeping the zipper to the right of the presser foot. Lower the presser foot and stitch along the bottom of the zipper.
Again, lower the needle, raise the presser foot and make another 90 degree angle. Stitch along the edge until the end, backstitch and trim the strings.
Now we need to remove the basting thread.
Simply pull the basting thread out.
This is what it should look like.
And then you're done! Don't forget to iron it when you are done. Just remember to take your time and practice makes perfect!


Fly with Christ!
Rachel : )

Jan 19, 2013

$250 Cookies

I LOVE these cookies!!!!!!!!!!!!!

They are so yummy and easy to make. *Beware* They make a large batch (I mean REALLY large). You can easily cut the recipe in half if you don't need a lot of cookies or if your mixer can't handle the load. When I asked my mom how many cookies it makes, she sarcastically said 250! It won't really make that many. This time, I baked exactly 100 cookies.   : )

$250 Cookie Recipe:
2 cups of butter
2 cups of sugar
2 cups of brown sugar
4 eggs
2 tsp vanilla
4 cups of flour
5 cups of regular rolled oats
1 tsp salt
2 tsp baking soda
2 tsp baking powder
24 oz chocolate chips (YES, the WHOLE bag! Insert large smile here!)   : D


 (((THE WHOLE BAG!)))

Anyway...

Cream the butter and sugars until fluffy.


Add the eggs and vanilla.

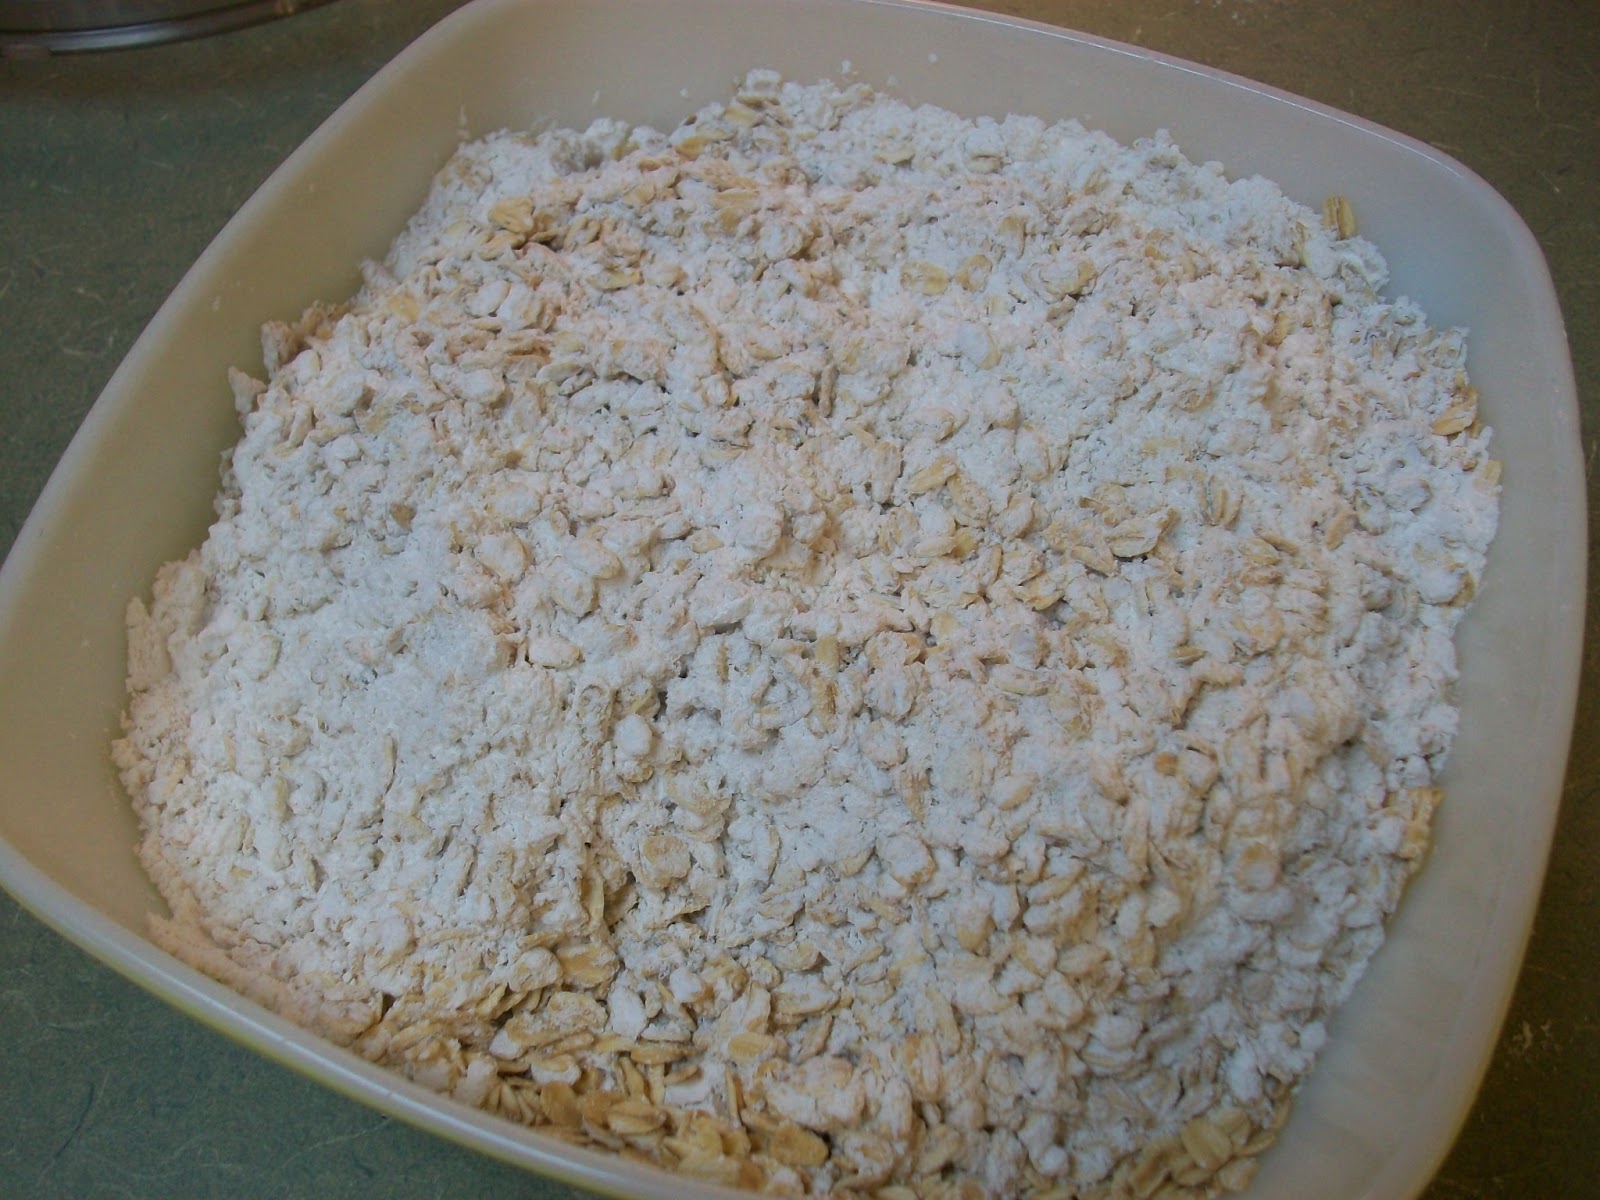
In a separate bowl mix all dry ingredients except the chocolate chips.

Slowly mix dry mixture into the creamed mixture.

Then add the chips. If your mixer can't handle it, you can stir in the chips by hand.

YUM! COOKIE DOUGH! You may need to let the dough sit in the fridge to get a little more firm.

Roll into balls and bake for 10 minutes at 350 degrees F. If the dough is firm, it may take closer to 15 minutes to bake. The key is to not over bake them.

Enjoy and watch them disappear!  : )


Fly with Christ!
Rachel : )

Jan 15, 2013

More Patches

Here are some of the newest patches that I have finished for my quilt!


Fly with Christ!
Rachel : )

Jan 10, 2013

Whole Wheat Bread

Here is my mom's no fail Whole Wheat Bread recipe. It is super simple. I use a standing mixer, but if you don't have one you can just knead the dough by hand. Enjoy! This recipe makes one loaf of bread. You can easily double or triple the recipe to make more loaves or other things like pizza and cinnamon rolls.

*Note* This bread will not have the same texture as store bought bread. Don't make this recipe thinking that you will produce Bunny Bread. Lecithin and wheat gluten can be added to this recipe for a lighter bread. They help with the rising and elasticity of the loaves. The original recipe calls for 1 tbsp. each of lecithin and gluten.

*Because this bread can have a heavier texture, it is wonderful when used for french toast or in a breakfast casserole.*

3 cups whole wheat flour
2 tsp. yeast
1 tsp. salt
2 tbsp. honey
2 tbsp. oil
1 cup warm water
Mix together the flour, yeast, and salt.

The water needs to be between 120 and 130 degrees F. If the water is too hot, it will kill the yeast. If the water is too cool, it won't activate the yeast. Both situations will result in flat, dense bread.

Add the water, oil, and honey to the dry ingredients.

If it is too sticky, add more flour a little at a time until it forms a soft dough .

Knead for 8 minutes until the dough is soft and elastic.

Like this.

Place the dough onto a clean, floured surface like a counter or a cutting board. If you are using an standing mixer, you might want to knead it by hand a little to get the proper texture. Shape into a loaf to fit your bread pan.

Place into the pan, cover with a towel, and let rise until doubled in bulk in a warm spot such as an oven. This step can take anywhere from 30 minutes to 1 1/2 hours.

Uncover and bake for 10 minutes at 375 degrees F. Then drop the temperature to 325 degrees and bake for 20 more minutes. If the bread starts to brown too quickly, you can place a sheet of aluminum foil over it.

Take it out of the oven and place on a cooling rack to cool. For best results, let it cool completely before cutting. (Our bread never makes it that far!) In the picture above, you can see that the bread sunk a little. This is because I moved it too much after it had risen, causing it to deflate.


Fly with Christ!
Rachel : )

Jan 8, 2013

New Project

This is my newest project! I am going to make a quilt!!!

I got the material from my granny back in October. Some of the pieces are from my mom and aunt's old dresses! The hardest part was matching all the material together. I will post pictures as I finish the patches.


This is the first patch that I made.


Fly with Christ!
Rachel : )

Jan 5, 2013

Exercise Second and Third

Exercise Second

is for gaining agility, suppleness, quickness of eye, hand, and foot. Standing as far from the wall as possible, take a common rubber hand-ball and toss it against the wall, catching it as it rebounds, and again toss it against the wall. Vary this by allowing the ball to strike the floor, catching it on the rebound; then try keeping the ball in constant motion by first using one hand and then the other as a bat for returning the ball to the wall. This exercise can also be changed by striking the ball against the floor, and on its return bound again striking it,thus keeping it in motion. You will find that activity is necessary, and the work so quick that it will keep you on the jump all through the exercises.

Exercise Third

is with a broom-handle. Saw or cut off the broom and smooth down the sharp ends of the handle, and it will be ready for use. Stand erect, heels together, toes out, chin well back and straight, so as to throw out and expand the chest. Now grasp firmly each end of the broom stick and bring it up over the head;repeat this motion six or seven times; then change by carrying the broomstick over back of the head down across the back of the shoulders; then up above the head again, repeating this, and all other motions in your calisthenics, half a dozen times. Another exercise is holding the stick down in front of you with both hands and bringing it up over the head and down back of the shoulders without stopping.

The side motion is made by grasping the broomstick at each end, holding it down in front of you, and swinging it sideways thus bringing the right hand up when the left hand is down, and vice versa. Another way is to hold the stick by both ends above your head and swing it from one side to the other, which will cause the right arm to come in contact with the right side of the head, while the left arm is extended horizontally to the left. Next carry the stick back of and against the shoulders; then swing it from right to left, which gives another side movement. Vary all the movements in as many different ways as you can think of.


Fly with Christ!
Rachel  : )